开发类
Git
创建 SSH Key:
参考 Generating a new SSH key and adding it to the ssh-agent - GitHub Docs。
ssh-keygen -t ed25519 -C "your_email@example.com"
cat ~/.ssh/id_ed25519.pub
设置 Git 用户信息,否则 clone 时可能会报错GnuTLS recv error (-110)。
git config --global user.name "your_name"
git config --global user.email "your_email@example.com"
其他一些忽略:
# 忽略换行分隔符差异
git config --global core.autocrlf input
# 忽略文件权限修改
git config --global core.fileMode false
act
本地运行 GitHub Actions。
Releases · nektos/act 下载压缩包。
$ tar zxvf act_Linux_x86_64.tar.gz
$ sudo mkdir /opt/act
$ sudo mv act /opt/act/

# 可执行文件链接到系统路径
$ sudo ln -s /opt/act/act /usr/local/bin/act

# 用本项目做测试
# 查看任务
$ act --list
INFO[0000] Using docker host 'unix:///var/run/docker.sock', and daemon socket 'unix:///var/run/docker.sock'
Stage  Job ID           Job name         Workflow name  Workflow file    Events
0      deploy-gh-pages  deploy-gh-pages  docs           deploy-docs.yml  pus

# 测试
$ sudo act -j deploy-gh-pages
nvm + Node.js + pnpm + nrm
# 代理下载安装脚本
proxychains wget https://raw.githubusercontent.com/nvm-sh/nvm/v0.40.3/install.sh
# 替换安装脚本中 git clone 为 proxychains git clone(可选)
sed -i 's/command git clone/command proxychains git clone/g' install.sh
# 执行脚本
bash install.sh
# 代替重启 shell
\. "$HOME/.nvm/nvm.sh"
# 下载并安装 Node.js
nvm install 24
# 安装 pnpm 方法一
corepack enable pnpm
# 安装 pnpm 方法二
npm install -g pnpm
# 自动安装配置 pnpm
pnpm setup
source ~/.zshrc
# 安装 nrm
pnpm add -g nrm
# 查看所有镜像源
nrm ls
  npm ---------- https://registry.npmjs.org/
  yarn --------- https://registry.yarnpkg.com/
  tencent ------ https://mirrors.tencent.com/npm/
  cnpm --------- https://r.cnpmjs.org/
  taobao ------- https://registry.npmmirror.com/
  npmMirror ---- https://skimdb.npmjs.com/registry/
  huawei ------- https://repo.huaweicloud.com/repository/npm/
# 使用镜像源
nrm use xxx
JDK
Java 8, 11, 17, 21, 23 Download for Linux, Windows and macOS
tar zxvf zulu17.64.17-ca-jdk17.0.18-linux_x64.tar.gz
sudo mkdir /opt/java
sudo mv zulu17.64.17-ca-jdk17.0.18-linux_x64 /opt/java/zulu17.64.17-ca-jdk17.0.18
# 创建固定别名,后续升级只改软链接
sudo ln -sfn /opt/java/zulu17.64.17-ca-jdk17.0.18 /opt/java/jdk17
# 末尾追加环境变量
$ nano ~/.zshrc
# JDK
export JAVA_HOME="/opt/java/jdk17"
export PATH=$JAVA_HOME/bin:$PATH

$ source ~/.zshrc
$ java -version
openjdk version "17.0.18" 2026-01-20 LTS
OpenJDK Runtime Environment Zulu17.64+17-CA (build 17.0.18+8-LTS)
OpenJDK 64-Bit Server VM Zulu17.64+17-CA (build 17.0.18+8-LTS, mixed mode, sharing)
Gradle
Gradle | Releases 下载binary-only。
# 代理下载压缩包(可选)
proxychains axel -n 10 -o gradle-8.14.3-bin.zip 'https://services.gradle.org/distributions/gradle-8.14.3-bin.zip'

unzip gradle-8.14.3-bin.zip
sudo mkdir /opt/gradle
sudo mv gradle-8.14.3 /opt/gradle/
# 末尾追加环境变量
$ nano ~/.zshrc
# Gradle
export GRADLE_HOME="/opt/gradle/gradle-8.14.3"
export PATH=$GRADLE_HOME/bin:$PATH

$ source ~/.zshrc
$ gradle -v

Welcome to Gradle 8.14.3!
……

# 创建全局脚本
$ nano ~/.gradle/init.gradle

# 配置镜像
settingsEvaluated { settings ->
    settings.pluginManagement {
        repositories {
            maven { url 'https://maven.aliyun.com/repository/public' }
            maven { url 'https://maven.aliyun.com/repository/google' }
            maven { url 'https://maven.aliyun.com/repository/gradle-plugin' }
        }
    }
}

allprojects {
    buildscript {
        repositories {
            maven { url 'https://maven.aliyun.com/repository/public' }
            maven { url 'https://maven.aliyun.com/repository/google' }
            maven { url 'https://maven.aliyun.com/repository/gradle-plugin' }
        }
    }
    repositories {
        maven { url 'https://maven.aliyun.com/repository/public' }
        maven { url 'https://maven.aliyun.com/repository/google' }
    }
}
JetBrains Toolbox APP
JetBrains Toolbox App:轻松管理您的工具
# 安装 Toolbox
paru jetbrains-toolbox

# 创建 Shell 脚本位置
sudo mkdir -p /opt/jetbrains/scripts

# 更改想要安装的目录所有者为当前用户
sudo chown -R $USER:$USER /opt/jetbrains

# 将想要设置的 Shell 脚本目录添加到环境变量
$ nano ~/.zshrc
# jetbrains toolbox scripts
export PATH="/opt/jetbrains/scripts:$PATH"

# 生效环境变量
$ source ~/.zshrc
在 Toolbox APP 右上角齿轮图表-设置-工具中修改工具安装位置为/opt/jetbrains,Shell 脚本位置为/opt/jetbrains/scripts并应用。
JetBrains IntelliJ IDEA
适用于专业开发的卓越 IDE,适用于 Java 和 Kotlin。
方式一:通过 JetBrains Toolbox 安装。
方式二:手动安装。
# 解压并移动到 /opt 下
tar zxvf ideaIU-2024.3.4.1.tar.gz
sudo mkdir /opt/jetbrains
sudo mv idea-IU-243.25659.59/ /opt/jetbrains/intellij-idea-ultimate
# 创建快捷方式
$ sudo nano /usr/share/applications/idea.desktop

[Desktop Entry]
Name=IntelliJ IDEA Ultimate
Comment=The IDE for Professional Development in Java and Kotlin
GenericName=IDE
Exec=/opt/jetbrains/intellij-idea-ultimate/bin/idea %F
Icon=/opt/jetbrains/intellij-idea-ultimate/bin/idea.svg
Type=Application
# 禁用启动时进度通知
StartupNotify=false
# 与应用程序窗口关联的 WM_CLASS 属性
StartupWMClass=jetbrains-idea
Categories=TextEditor;Development;IDE;
MimeType=application/java;application/java-archive;application/java-byte-code;application/java-vm;
Keywords=idea;
快捷键调整:
设置-按键映射-主菜单-导航-通过引用转到-选择位置…在KDE按键方案中不是Alt+F1而是Alt+Shift+1,因为Alt+F1是plasmashell的快捷键。我们之前在系统配置中已经取消了plasmashell的这个快捷键,所以可以修改一下,或者直接将按键方案修改为Windows。
IDEA 占用内存过高只升不降:
使用 IDEA 2025.3.1.1,发现内存占用一直在升高(>20G),关闭 IDEA 后内存也没有释放,ps aux | grep idea发现很多ExternalJavacProcess进程。
解决方法:
pkill -f "ExternalJavacProcess"杀掉所有ExternalJavacProcess进程。- IDEA 打开
设置/Settings (Ctrl+Alt+S)。 - 进入
构建、执行、部署->编译器/Build, Execution, Deployment->Compiler。 并行编译独立模块/Compile independent modules in parallel下拉框选择已禁用/Disabled。
需注意除了在新建项目设置->为新项目设置/New Projects Settings->Settings for New Projects中设置外,还需要在当前项目中也进行相同设置。- 应用后重启 IDEA。
Maven (Daemon)
Maven
此处用的是 IDEA 自带的。也可以自己下载:Download Apache Maven – Maven
shell# 末尾追加环境变量 $ nano ~/.zshrc # Maven export MAVEN_HOME="/opt/jetbrains/intellij-idea-ultimate/plugins/maven/lib/maven3/" export PATH=$MAVEN_HOME/bin:$PATH $ source ~/.zshrc $ mvn -v Apache Maven 3.9.9 (8e8579a9e76f7d015ee5ec7bfcdc97d260186937) Maven home: /opt/jetbrains/intellij-idea-ultimate/plugins/maven/lib/maven3 Java version: 17.0.18, vendor: Azul Systems, Inc., runtime: /opt/java/zulu17.64.17-ca-jdk17.0.18-linux_x64 Default locale: zh_CN, platform encoding: UTF-8 OS name: "linux", version: "6.12.9-amd64-desktop-rolling", arch: "amd64", family: "unix"Maven Daemon
Maven Daemon(mvnd)是一个用于 Maven 的守护进程基础设施。
它通过这些方式帮助减少构建时间:在构建之间保持 JVM 运行、管理 Maven 进程池、跨构建重用 JVM 和 Maven 进程。
功能:构建速度显著更快、兼容现有的 Maven 插件和扩展、守护进程管理、智能内存管理、原生可执行文件可用。
Download Apache Maven Daemon – Maven
shell$ tar zxvf maven-mvnd-1.0.3-linux-amd64.tar.gz $ sudo mv maven-mvnd-1.0.3-linux-amd64 /opt/maven-mvnd # 末尾追加环境变量 $ nano ~/.zshrc # Maven Daemon export MVND_HOME="/opt/maven-mvnd" export MAVEN_HOME=$MVND_HOME/mvn export PATH=$MVND_HOME/bin:$MAVEN_HOME/bin:$PATH $ source ~/.zshrc $ mvnd -v Apache Maven Daemon (mvnd) 1.0.3 linux-amd64 native client (824a1fd42088e27dec6cc7cc392b9122379e7bf0) Terminal: org.jline.terminal.impl.PosixSysTerminal with pty org.jline.terminal.impl.jni.linux.LinuxNativePty Apache Maven 3.9.11 (3e54c93a704957b63ee3494413a2b544fd3d825b) Maven home: /opt/maven-mvnd/mvn Java version: 17.0.18, vendor: Azul Systems, Inc., runtime: /opt/java/zulu17.64.17-ca-jdk17.0.18-linux_x64 Default locale: zh_CN, platform encoding: UTF-8 OS name: "linux", version: "6.12.48-1-manjaro", arch: "amd64", family: "unix" $ mvn -v
Apache JMeter
Apache JMeter 是一个 Java 应用程序,可以测试各种应用程序、服务器、协议和资源的性能和功能。
Apache JMeter - Download Apache JMeter
# 安装
$ paru jmeter

# 创建环境变量脚本
$ sudo nano /opt/jmeter/setenv.sh

# 设置 JVM UI 缩放比例
JVM_ARGS="-Dsun.java2d.uiScale=2.0"
JetBrains WebStorm
JavaScript 和 TypeScript IDE。
方式一:通过 JetBrains Toolbox 安装。
方式二:手动安装。
# 解压并移动到 /opt 下
tar zxvf WebStorm-2024.3.4.tar.gz
sudo mkdir /opt/jetbrains
sudo mv WebStorm-243.25659.40/ /opt/jetbrains/webstorm
# 创建快捷方式
$ sudo nano /usr/share/applications/webstorm.desktop

[Desktop Entry]
Name=WebStorm
Comment=The JavaScript and TypeScript IDE by JetBrains
GenericName=IDE
Exec=/opt/jetbrains/webstorm/bin/webstorm %F
Icon=/opt/jetbrains/webstorm/bin/webstorm.svg
Type=Application
# 禁用启动时进度通知
StartupNotify=false
# 与应用程序窗口关联的 WM_CLASS 属性
StartupWMClass=jetbrains-webstorm
Categories=TextEditor;Development;IDE;
MimeType=application/xhtml+xml;text/javascript;text/css;
Keywords=webstorm;
JetBrains PyCharm
用于数据科学和 Web 开发的 Python IDE。
方式一:通过 JetBrains Toolbox 安装。
方式二:手动安装。
# 解压并移动到 /opt 下
tar zxvf pycharm-2025.1.2.tar.gz
sudo mkdir /opt/jetbrains
sudo mv pycharm-2025.1.2 /opt/jetbrains/pycharm
# 创建快捷方式
$ sudo nano /usr/share/applications/pycharm.desktop

[Desktop Entry]
Name=PyCharm
Comment=Pycharm is a Python IDE for professional developers by JetBrains.
GenericName=IDE
Exec=/opt/jetbrains/pycharm/bin/pycharm %F
Icon=/opt/jetbrains/pycharm/bin/pycharm.svg
Type=Application
# 禁用启动时进度通知
StartupNotify=false
# 与应用程序窗口关联的 WM_CLASS 属性
StartupWMClass=jetbrains-webstorm
Categories=TextEditor;Development;IDE;
MimeType=application/xhtml+xml;text/javascript;text/css;
Keywords=pycharm;
Python + pipx + cnpip 切换最快 pip 镜像源 + uv
自带 Python,但当你想全局安装依赖时会报错:
$ pip install cnpip

error: externally-managed-environment

× This environment is externally managed
╰─> To install Python packages system-wide, try 'pacman -S
    python-xyz', where xyz is the package you are trying to
    install.

    If you wish to install a non-Arch-packaged Python package,
    create a virtual environment using 'python -m venv path/to/venv'.
    Then use path/to/venv/bin/python and path/to/venv/bin/pip.

    If you wish to install a non-Arch packaged Python application,
    it may be easiest to use 'pipx install xyz', which will manage a
    virtual environment for you. Make sure you have python-pipx
    installed via pacman.

note: If you believe this is a mistake, please contact your Python installation or OS distribution provider. You can override this, at the risk of breaking your Python installation or OS, by passing --break-system-packages.
hint: See PEP 668 for the detailed specification.
解决方案是使用它推荐的 pipx:
# pacman 安装 pipx
sudo pacman -S python-pipx
# pipx 安装 cnpip
pipx install cnpip
# cnpip 切换最快镜像源
cnpip set
# pipx 安装 uv
pipx install uv
uv 全局换源:
# 创建 uv 配置文件
$ mkdir ~/.config/uv
$ nano ~/.config/uv/uv.toml

[[index]]
url = "https://pypi.tuna.tsinghua.edu.cn/simple"
default = true

# 创建测试虚拟环境
$ cd /tmp
$ uv venv test-env
# 进入虚拟环境
$ source test-env/bin/activate
# 使用 uv pip 尝试安装 torch(仅测试,不真正安装)
(test-env) $ uv pip install torch --dry-run
# 退出虚拟环境
(test-env) $ deactivate
# 删除测试虚拟环境
$ rm -rf test-env
Android Studio
Android Studio 是开发 Android 应用的官方 IDE,包含构建 Android 应用所需的所有功能。

下载 Android Studio 和应用工具 - Android 开发者 | Android Developers
方式一:通过 JetBrains Toolbox 安装。
方式二:手动安装。
# 解压并移动到 /opt 下
tar zxvf android-studio-2025.2.1.7-linux.tar.gz
sudo mv android-studio /opt/jetbrains/android-studio
# 创建快捷方式
$ sudo nano /usr/share/applications/android-studio.desktop

[Desktop Entry]
Name=Android Studio
Comment=Android Studio is the official IDE for Android development, and includes everything you need to build Android apps.
GenericName=IDE
Exec=/opt/jetbrains/android-studio/bin/studio %F
Icon=/opt/jetbrains/android-studio/bin/studio.png
Type=Application
# 禁用启动时进度通知
StartupNotify=false
# 与应用程序窗口关联的 WM_CLASS 属性
StartupWMClass=jetbrains-studio
Categories=TextEditor;Development;IDE;
MimeType=text/x-java;text/x-kotlin;text/x-groovy;application/xml;text/xml;application/vnd.android.package-archive;inode/directory;
Keywords=android;studio;
安装 Android SDK / NDK / Command-line Tools
首次启动 Android Studio 后,进入 Tools-SDK Manager(或 Settings-Language & Frameworks-Android SDK):
SDK Platforms:选择并安装需要的 Android API(建议至少安装一个稳定版,如 API 35/36)。SDK Tools:勾选并安装以下组件:Android SDK Build-ToolsNDK (Side by side)Android SDK Command-line Tools (latest)Android SDK Platform-Tools
安装完成后确认目录(默认):
$ ls -lah ~/Android/Sdk
$ ls -1 ~/Android/Sdk/ndk
29.0.14206865配置环境变量(nano ~/.zshrc):
# Android SDK / NDK
export ANDROID_HOME="$HOME/Android/Sdk"
export NDK_HOME="$ANDROID_HOME/ndk/29.0.14206865"
# Android command-line tools + Android Studio
export PATH="$ANDROID_HOME/platform-tools:$ANDROID_HOME/cmdline-tools/latest/bin:$ANDROID_HOME/emulator:/opt/jetbrains/android-studio/bin:$PATH"
如果是通过 JetBrains Toolbox 安装 Android Studio,把上面 PATH 里的 /opt/jetbrains/android-studio/bin 替换为实际安装目录。
使环境变量生效并验证:
source ~/.zshrc
adb version
sdkmanager --version
echo $ANDROID_HOME
echo $NDK_HOME
which studio
安装 IDEA 的中文插件
此处修改是最新版 IDEA 安装目录下的plugins/localization-zh/lib/localization-zh.jar,使用 JetBrains Marketplace 下载的 v242.152 来修改也是差不多的。
# 查看 Android Studio 版本
$ cat /opt/jetbrains/android-studio/build.txt
AI-252.27397.103.2522.14617522%

# 复制 IDEA 安装目录下的中文插件到下载目录
sudo cp /opt/jetbrains/intellij-idea-ultimate/plugins/localization-zh/lib/localization-zh.jar ~/Downloads/
cd ~/Downloads/
# 解压出 META-INF/plugin.xml
unzip localization-zh.jar META-INF/plugin.xml编辑META-INF/plugin.xml:
<version>253.29346.138</version>修改为<version>AI-252.25557.131</version>。<idea-version since-build="253.29346.138" until-build="253.29346.138"/>修改为<idea-version since-build="AI-252.27397.103" until-build="252.*"/>。- 删除
<description>标签内的内容,只保留<description></description>。
# 将修改后的 plugin.xml 更新回 jar 包
sudo zip localization-zh.jar META-INF/plugin.xml
打开 Android Studio,Settings-Plugins-右上角齿轮图标-Install Plugin from Disk...,选择修改后的localization-zh.jar,重启软件。
Settings-Appearance & Behavior-System Settings-Language and Region中Language选择Chinese (Simplified) 简体中文。
Visual Studio Code
开源轻量代码编辑器。
Download Visual Studio Code - Mac, Linux, Windows
paru visual-studio-code-binCursor
Cursor 旨在大幅提升您的生产力,是使用 AI 编码的最佳方式。
paru cursor-binWindsurf
Windsurf 是一款直观的 AI 编程工具,旨在让您和您的团队始终保持高效的工作状态。
Download Windsurf Editor and Plugins | Windsurf
paru windsurfAntigravity
Google Antigravity AI IDE 是谷歌推出的“Agent-First”智能开发环境,把代码编辑、终端和浏览器级自动化整合到一起,让 AI 能直接参与从编写、调试到验证的整条开发流程。

paru antigravityKiro
Kiro 通过基于规格说明的开发,为 AI 编程提供结构化框架,助您发挥最佳水平。

paru kiro-ideTrae
TRAE(/treɪ/)深度融合 AI 能力,是一名能够理解需求、调用工具并独立完成各类开发任务的“AI 开发工程师”,帮助你高效推进每一个项目。
Download | TRAE - Collaborate with Intelligence
paru trae-binQoder
Qoder,面向真实软件的智能体编程平台

paru qoder-binFVM + Flutter 换源 + Dart
# 下载 FVM 安装脚本
wget https://fvm.app/install.sh
# 代理安装 FVM
proxychains -q bash install.sh

# 末尾追加环境变量
echo 'export PATH="$HOME/fvm/bin:$PATH"' >> ~/.zshrc
source ~/.zshrc

# 代理安装 Flutter SDK 稳定版
proxychains -q fvm install stable

# 将 stable 设为全局默认的 Flutter 版本
$ fvm global stable
Flutter SDK: Channel: Stable is now global

# 查看 FVM 缓存
$ fvm list
Cache directory:  /home/duanluan/fvm/versions
Directory Size: 739.33 MB

# 通过 FVM 检查当前 Flutter 版本
$ fvm flutter --version
Flutter 3.38.5 • channel stable • https://github.com/flutter/flutter.git
Framework • revision f6ff1529fd (4 周前) • 2025-12-11 11:50:07 -0500
Engine • hash c108a94d7a8273e112339e6c6833daa06e723a54 (revision 1527ae0ec5) (27 days ago) • 2025-12-11 15:04:31.000Z
Tools • Dart 3.10.4 • DevTools 2.51.1

# 通过 FVM 检查当前 Dart SDK 版本
$ fvm dart --version
Dart SDK version: 3.10.4 (stable) (Tue Dec 9 00:01:55 2025 -0800) on "linux_x64"- Flutter SDK 路径:
/home/duanluan/fvm/versions/stable - Dart SDK 路径:
/home/duanluan/fvm/versions/stable/bin/cache/dart-sdk
查看并解决环境问题:
# 查看环境问题
$ proxychains -q fvm flutter doctor -v

[!] Flutter (Channel stable, 3.35.7, on Manjaro Linux 6.12.48-1-MANJARO, locale zh_CN.UTF-8) [29ms]
    • Flutter version 3.35.7 on channel stable at /home/duanluan/fvm/versions/stable
    ! Upstream repository https://gh-proxy.com/https://github.com/flutter/flutter.git is not a standard remote.
      Set environment variable "FLUTTER_GIT_URL" to https://gh-proxy.com/https://github.com/flutter/flutter.git to dismiss this
      error.
    • Framework revision adc9010625 (3 周前), 2025-10-21 14:16:03 -0400
    • Engine revision 035316565a
    • Dart version 3.9.2
    • DevTools version 2.48.0
    • Feature flags: enable-web, enable-linux-desktop, enable-macos-desktop, enable-windows-desktop, enable-android,
      enable-ios, cli-animations, enable-lldb-debugging
    • If those were intentional, you can disregard the above warnings; however it is recommended to use "git" directly to
      perform update checks and upgrades.

[!] Android toolchain - develop for Android devices (Android SDK version 36.1.0) [193ms]
    • Android SDK at /home/duanluan/Android/Sdk
    • Emulator version 36.2.12.0 (build_id 14214601) (CL:N/A)
    ✗ cmdline-tools component is missing.
      Try installing or updating Android Studio.
      Alternatively, download the tools from https://developer.android.com/studio#command-line-tools-only and make sure to set
      the ANDROID_HOME environment variable.
      See https://developer.android.com/studio/command-line for more details.
    ✗ Android license status unknown.
      Run `flutter doctor --android-licenses` to accept the SDK licenses.
      See https://flutter.dev/to/linux-android-setup for more details.

[✗] Chrome - develop for the web (Cannot find Chrome executable at google-chrome) [9ms]
    ! Cannot find Chrome. Try setting CHROME_EXECUTABLE to a Chrome executable.

[✓] Linux toolchain - develop for Linux desktop [257ms]
    • clang version 20.1.8
    • cmake version 4.1.1
    • ninja version 1.12.1
    • pkg-config version 2.5.1
    • OpenGL core renderer: AMD Radeon 780M Graphics (radeonsi, phoenix, LLVM 20.1.8, DRM 3.61, 6.12.48-1-MANJARO) (X11)
    • OpenGL core version: 4.6 (Core Profile) Mesa 25.2.3-arch1.2 (X11)
    • OpenGL core shading language version: 4.60 (X11)
    • OpenGL ES renderer: AMD Radeon 780M Graphics (radeonsi, phoenix, LLVM 20.1.8, DRM 3.61, 6.12.48-1-MANJARO) (X11)
    • OpenGL ES version: OpenGL ES 3.2 Mesa 25.2.3-arch1.2 (X11)
    • OpenGL ES shading language version: OpenGL ES GLSL ES 3.20 (X11)
    • GL_EXT_framebuffer_blit: yes (X11)
    • GL_EXT_texture_format_BGRA8888: yes (X11)

[✓] Android Studio (version 2025.2.1) [8ms]
    • Android Studio at /opt/jetbrains/android-studio
    • Flutter plugin can be installed from:
      🔨 https://plugins.jetbrains.com/plugin/9212-flutter
    • Dart plugin can be installed from:
      🔨 https://plugins.jetbrains.com/plugin/6351-dart
    • Java version OpenJDK Runtime Environment (build 21.0.8+-14196175-b1038.72)

[✓] IntelliJ IDEA Ultimate Edition (version 2025.2) [7ms]
    • IntelliJ at /opt/jetbrains/intellij-idea-ultimate
    • Flutter plugin can be installed from:
      🔨 https://plugins.jetbrains.com/plugin/9212-flutter
    • Dart plugin can be installed from:
      🔨 https://plugins.jetbrains.com/plugin/6351-dart

[✓] Connected device (1 available) [56ms]
    • Linux (desktop) • linux • linux-x64 • Manjaro Linux 6.12.48-1-MANJARO

[✓] Network resources [1,696ms]
    • All expected network resources are available.

! Doctor found issues in 3 categories.
Flutter SDK 换源:
shellcd /home/duanluan/fvm/versions/stable git remote set-url origin https://mirrors.tuna.tsinghua.edu.cn/git/flutter-sdk.git # 末尾追加环境变量 $ nano ~/.zshrc # flutter export PUB_HOSTED_URL="https://mirrors.tuna.tsinghua.edu.cn/dart-pub" export FLUTTER_STORAGE_BASE_URL="https://mirrors.tuna.tsinghua.edu.cn/flutter" export FLUTTER_GIT_URL="https://mirrors.tuna.tsinghua.edu.cn/git/flutter-sdk.git" # 生效环境变量 $ source ~/.zshrc解决
Unable to locate Android SDK:按照开发类中安装 Android Studio,打开软件会提示安装 Android SDK 和相关工具。
解决
cmdline-tools component is missing:在 Android Studio
Settings-Language & Frameworks-Android SDK-SDK Tools中勾选Android SDK Command-line Tools (latest)并应用安装。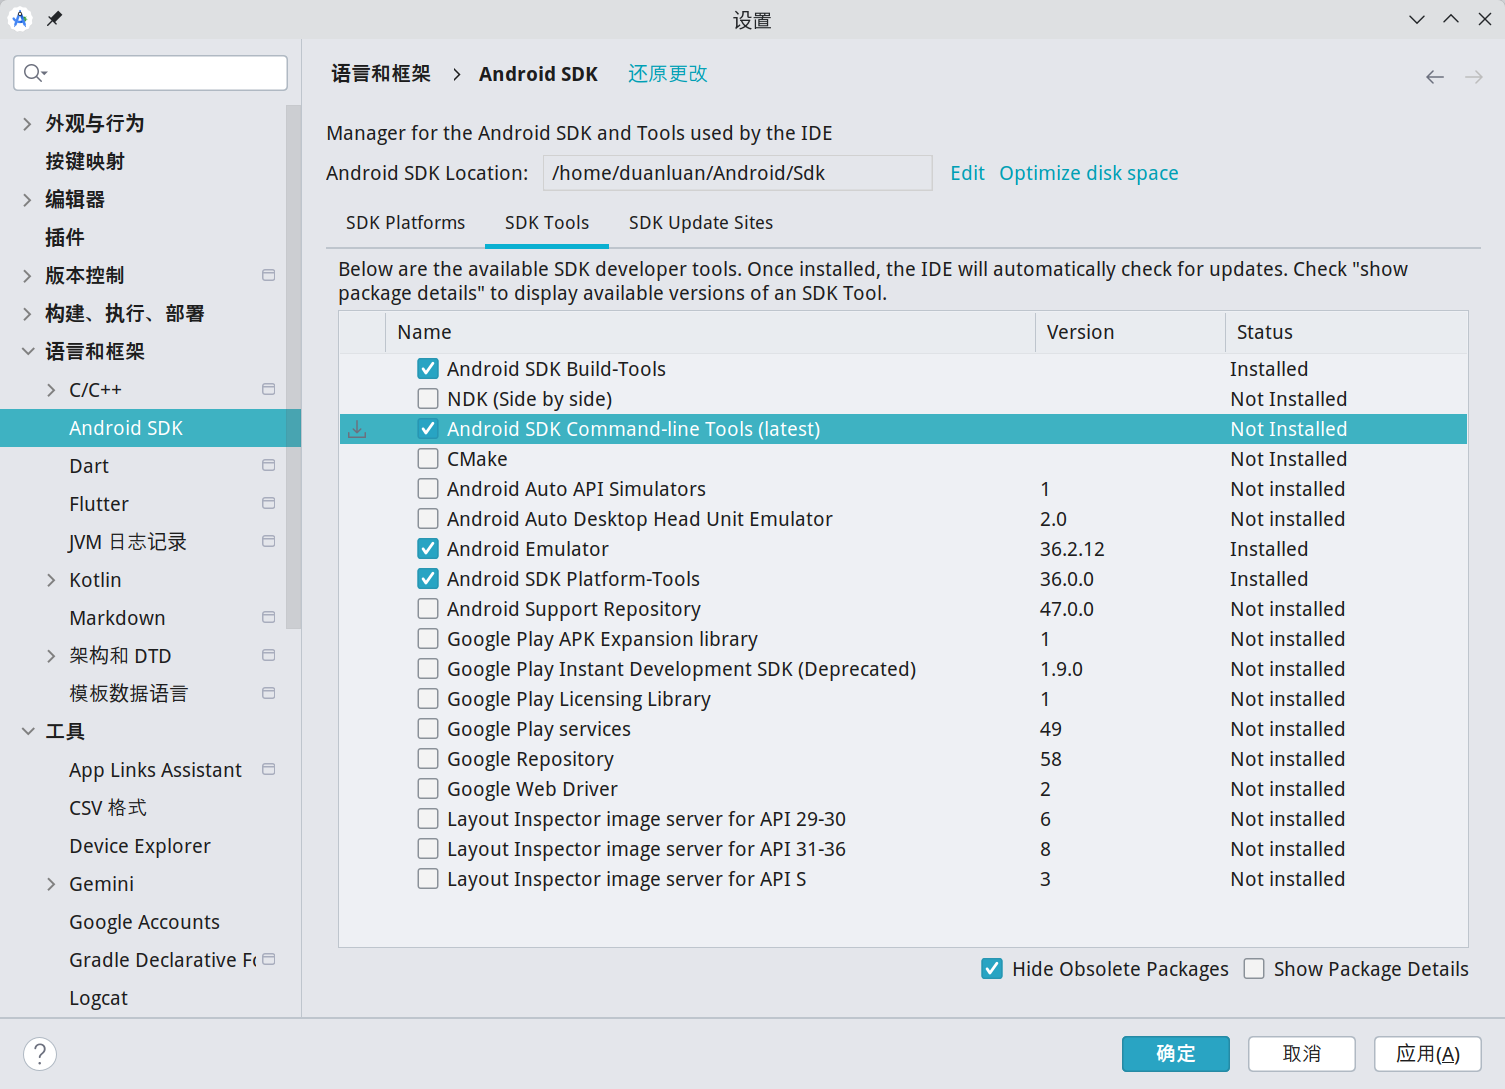 再运行
再运行fvm flutter doctor --android-licenses,全部选y。解决
Cannot find Chrome executable at google-chrome:先按照系统类中安装 Google Chrome,然后设置环境变量:
shell# 末尾追加环境变量 $ nano ~/.zshrc # chrome export CHROME_EXECUTABLE="/usr/bin/google-chrome-stable" # 生效环境变量 $ source ~/.zshrc解决
Due to an error, the doctor check did not complete.、Error: Unable to run "adb", check your Android SDK installation and ANDROID_HOME environment variable:不用代理运行
fvm flutter doctor -v。
微信开发者工具
msojocs/wechat-web-devtools-linux: 适用于微信小程序的微信开发者工具 Linux 移植版
$ cd /opt
$ sudo git clone --recurse-submodules https://github.com/msojocs/wechat-web-devtools-linux.git
$ cd wechat-web-devtools-linux
$ sudo tools/build-with-docker.sh

Unable to find image 'msojocs/wechat-devtools-build:v1.0.6' locally
docker: Error response from daemon: Get "https://registry-1.docker.io/v2/": context deadline exceeded

# 替换镜像源
$ sudo sed -i 's|msojocs/wechat-devtools-build:v1.0.6|swr.cn-north-4.myhuaweicloud.com/ddn-k8s/docker.io/msojocs/wechat-devtools-build:v1.0.6|g' tools/build-with-docker.sh

# 构建开发者工具
$ sudo tools/build-with-docker.sh
# 创建快捷方式
$ sudo nano /usr/share/applications/wechat-web-devtools.desktop

[Desktop Entry]
Name=WeChat Dev Tools
Name[zh_CN]=微信开发者工具
Comment=The development tools for wechat projects
Comment[zh_CN]=提供微信开发相关项目的开发IDE支持
Categories=Development;WebDevelopment;IDE;
Exec=/opt/wechat-web-devtools-linux/bin/wechat-devtools
Icon=/opt/wechat-web-devtools-linux/res/icons/wechat-devtools.svg
Type=Application
Terminal=false
StartupWMClass=wechat-devtools
Actions=
MimeType=x-scheme-handler/wechatide
Rust + Cargo 换源
# 安装基础开发包和 rustup
$ sudo pacman -S base-devel rustup 1 ✘
:: rustup-1.28.2-3 与 rust-1:1.89.0-1 有冲突。删除 rust 吗? [y/N] y
# 长期启用镜像源加速 rustup 下载
$ echo 'export RUSTUP_UPDATE_ROOT=https://mirrors.tuna.tsinghua.edu.cn/rustup/rustup' >> ~/.zshrc
$ echo 'export RUSTUP_DIST_SERVER=https://mirrors.tuna.tsinghua.edu.cn/rustup' >> ~/.zshrc
$ source ~/.zshrc
# 安装 Stable 工具链
$ rustup default stable
stable-x86_64-unknown-linux-gnu installed - rustc 1.91.1 (ed61e7d7e 2025-11-07)配置 Cargo 镜像源:
mkdir -vp ${CARGO_HOME:-$HOME/.cargo}

cat << EOF | tee -a ${CARGO_HOME:-$HOME/.cargo}/config.toml
[source.crates-io]
replace-with = 'mirror'

[source.mirror]
registry = "https://mirrors.tuna.tsinghua.edu.cn/git/crates.io-index.git"
EOF
验证安装:
$ rustc --version ✔
rustc 1.91.1 (ed61e7d7e 2025-11-07)取消 Rustup 和 Cargo 镜像(恢复官方源):
# 1) 删除 shell 配置中的 Rustup 镜像环境变量(按实际 shell 配置文件调整)
sed -i '/RUSTUP_UPDATE_ROOT=.*mirrors.tuna.tsinghua.edu.cn/d' ~/.zshrc
sed -i '/RUSTUP_DIST_SERVER=.*mirrors.tuna.tsinghua.edu.cn/d' ~/.zshrc
source ~/.zshrc

# 2) 必须执行一次官方源更新,才能真正切回官方源
RUSTUP_DIST_SERVER="https://static.rust-lang.org" rustup update
Cargo 取消镜像:
# 删除 ${CARGO_HOME:-$HOME/.cargo}/config.toml 中以下镜像配置
[source.crates-io]
replace-with = 'mirror'

[source.mirror]
registry = "https://mirrors.tuna.tsinghua.edu.cn/git/crates.io-index.git"- rustup | 镜像站使用帮助 | 清华大学开源软件镜像站 | Tsinghua Open Source Mirror
- crates.io-index.git | 镜像站使用帮助 | 清华大学开源软件镜像站 | Tsinghua Open Source Mirror
Apifox
API 设计、开发、测试一体化协作平台

paru apifoxApipost
API 开发管理工具
![]()
paru apipost-binPostman
Postman 是全球领先的 API 平台,将 API 开发从一个分散的、多工具的挑战转变为一个统一的、协作的过程,涵盖设计、测试、文档和监控。

Download Postman | Get Started for Free
paru postman-binJetBrains DataGrip
适用于关系型和 NoSQL 数据库的强大跨平台 IDE。
通过 JetBrains Toolbox 安装。
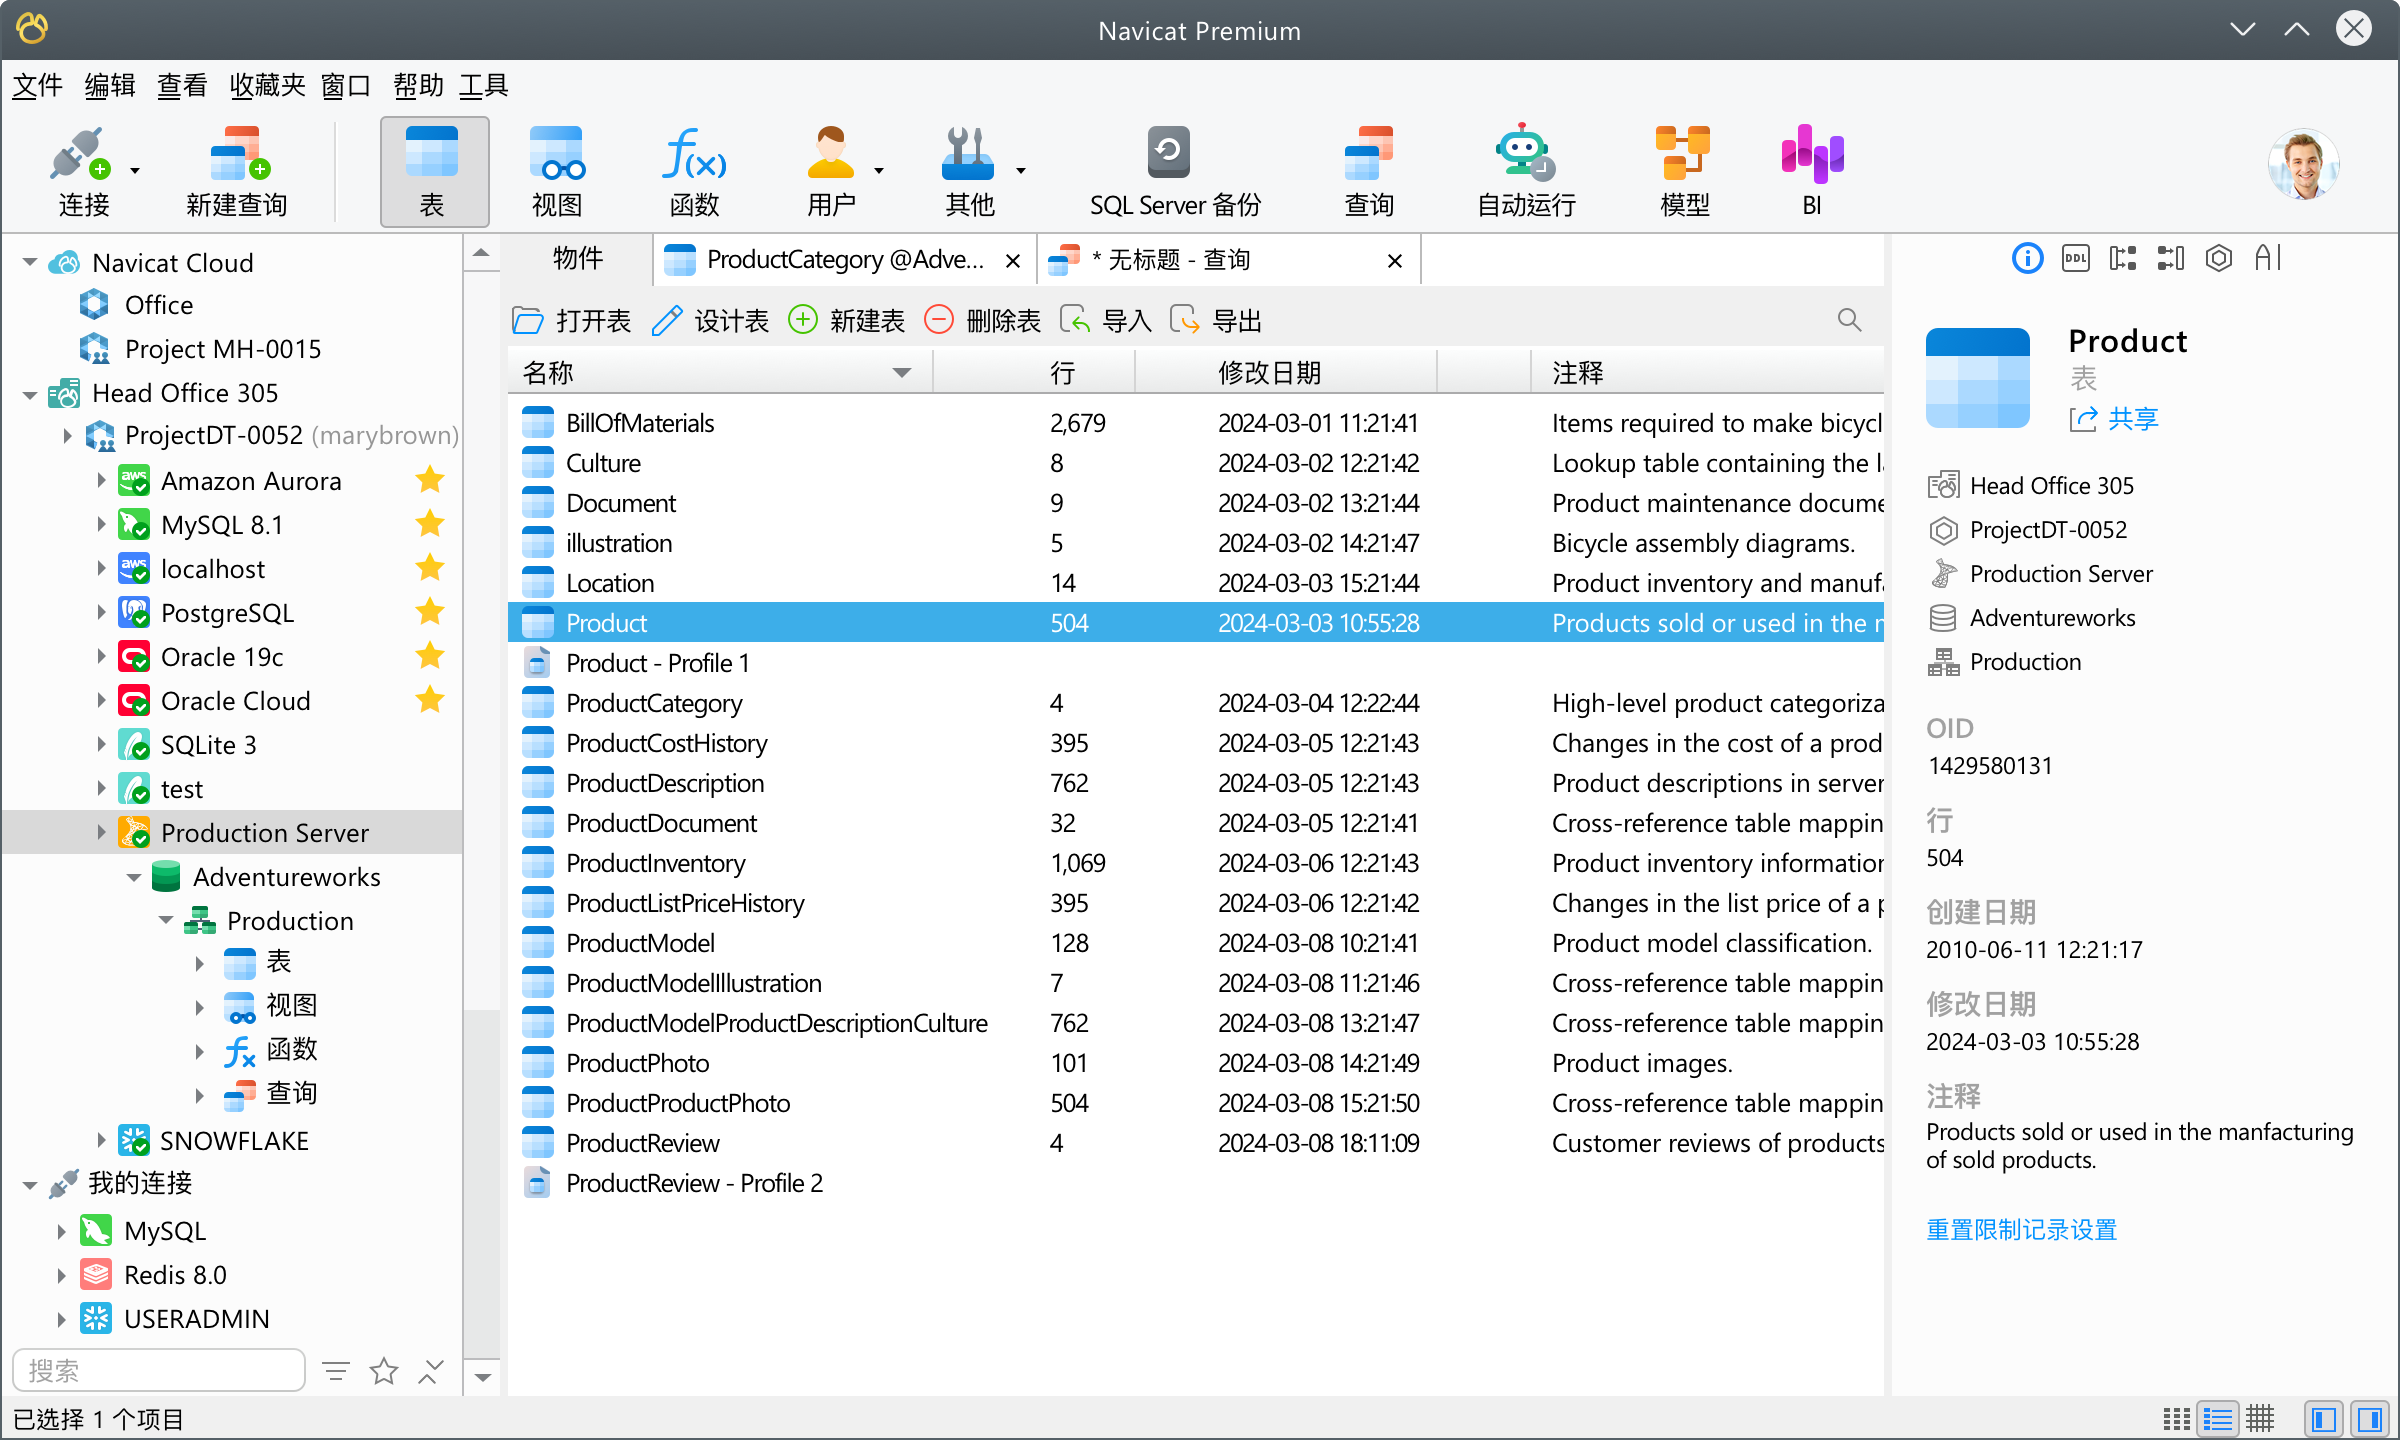
Navicat Premium (Lite)
Navicat Premium 是强大的一体化数据库开发解决方案,可从单一应用程序无缝连接多个数据库,包括 MySQL、PostgreSQL、MongoDB、MariaDB、SQL Server、Oracle、SQLite、Redis 和 Snowflake。同时,它与 GaussDB 、OceanBase、TiDB、PolarDB 数据库及阿里云、腾讯云和华为云等主流云数据库兼容。
AUR
shellparu navicat-premium-lite-zh-cnWine
Navicat | 下载 Navicat Premium Windows
shell# 指定容器 export WINEPREFIX=~/.wine-navicat # 初始化容器 winecfg # 安装中文字体 proxychains -q winetricks cjkfonts # 安装 Navicat Premium wine navicat17_premium_cs_x64.exeORA-12737:Instant Client Light:unsupported server character set ZHS16GBK:Oracle Instant Client Downloads | Oracle 中国 下载 Instant Client for Microsoft Windows (x64) 中的
Basic Package版本。shellunzip instantclient-basic-windows.x64-23.9.0.25.07.zip mv instantclient_23_9 /home/duanluan/.wine-navicat/drive_c/Program\ Files/PremiumSoft/Navicat\ Premium\ 17Navicat 菜单栏
工具-选项-环境-OCI 环境-OCI library (oci.dll) *改成C:\Program Files\PremiumSoft\Navicat Premium 17\instantclient_23_9\oci.dll。同样的 Linux 版 Navicat 就下载
Instant Client for Linux。
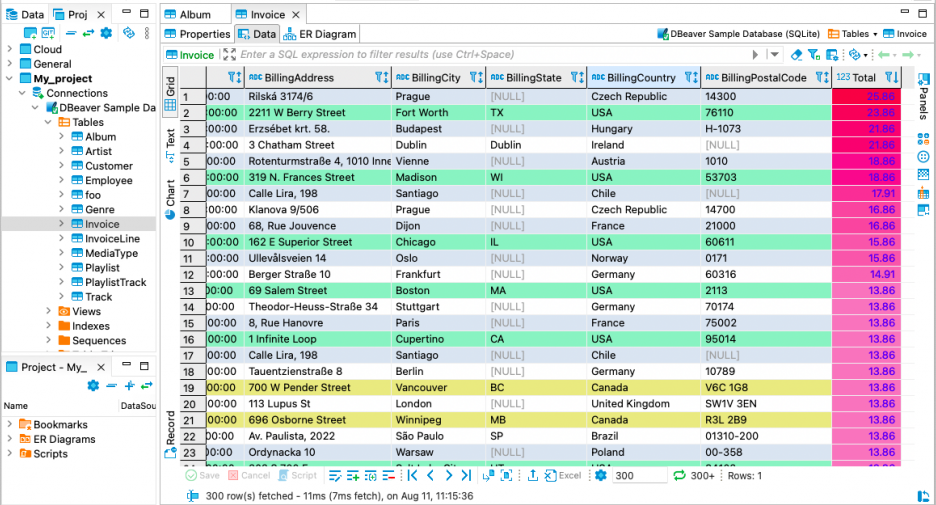
DBeaver Enterprise Edition
功能齐全的数据库管理工具。
# 方式一:直接安装(如果 dbeaver-agent 支持的版本和 dbeaver-ee 一致)
paru dbeaver-ee

# 方式二:安装指定版本(主要看 dbeaver-agent 能支持什么版本)
git clone https://aur.archlinux.org/dbeaver-ee.git
cd dbeaver-ee
# 切换到指定版本,以 25.0 举例
git checkout 18d7fe23f27e70c2db8ec413d3fdafa3ca355a34
makepkg -si
DBeaver Agent:
安装 DBeaver Agent:
Releases · wgzhao/dbeaver-agent 下载压缩包。
shellsudo mv dbeaver-agent.jar /opt/dbeaver-ee/dbeaver-agent.jar # v25.0 # unzip dbeaver-agent-25.0-SNAPSHOT-jar-with-dependencies.jar.zip # sudo mv dbeaver-agent-25.0-SNAPSHOT-jar-with-dependencies.jar /opt/dbeaver-ee/dbeaver-agent.jar配置 DBeaver:
shell# 在文件末尾添加內容,保持在 -vmargs 后 $ sudo nano /opt/dbeaver-ee/dbeaver.ini -javaagent:/opt/dbeaver-ee/dbeaver-agent.jar -Xbootclasspath/a:/opt/dbeaver-ee/dbeaver-agent.jar处理 JRE 依赖:
如果已经安装过 JDK/JRE 21+,可以省略此步。
Azul Zulu 下载 JRE 21。
shelltar zxvf zulu21.42.19-ca-jre21.0.7-linux_x64.tar.gz # 可能没有 sudo mv /opt/dbeaver-ee/jre /opt/dbeaver-ee/jre.bak sudo mv zulu21.42.19-ca-jre21.0.7-linux_x64 /opt/dbeaver-ee/jre屏蔽 stats.dbeaver.com 域名:
shell# 将以下内容追加到 /etc/hosts $ sudo nano /etc/hosts 127.0.0.1 stats.dbeaver.com生成许可证密钥:
shell$ /opt/dbeaver-ee/jre/bin/java -cp /opt/dbeaver-ee/plugins/\*:/opt/dbeaver-ee/dbeaver-agent.jar com.dbeaver.agent.License -t ee --- dbeaver-ee(v25) LICENSE --- …… --- 请复制上一行 ---命令行启动 DBeaver 并导入许可证:
shell# 命令行启动方便查看日志 /opt/dbeaver-ee/dbeaver点击“Import License”,粘贴上一步生成的许可证密钥并确定。
鼓励大家支持正版软件,购买正版授权不仅能获得更好的技术支持,还能为软件开发者提供持续的创新动力。
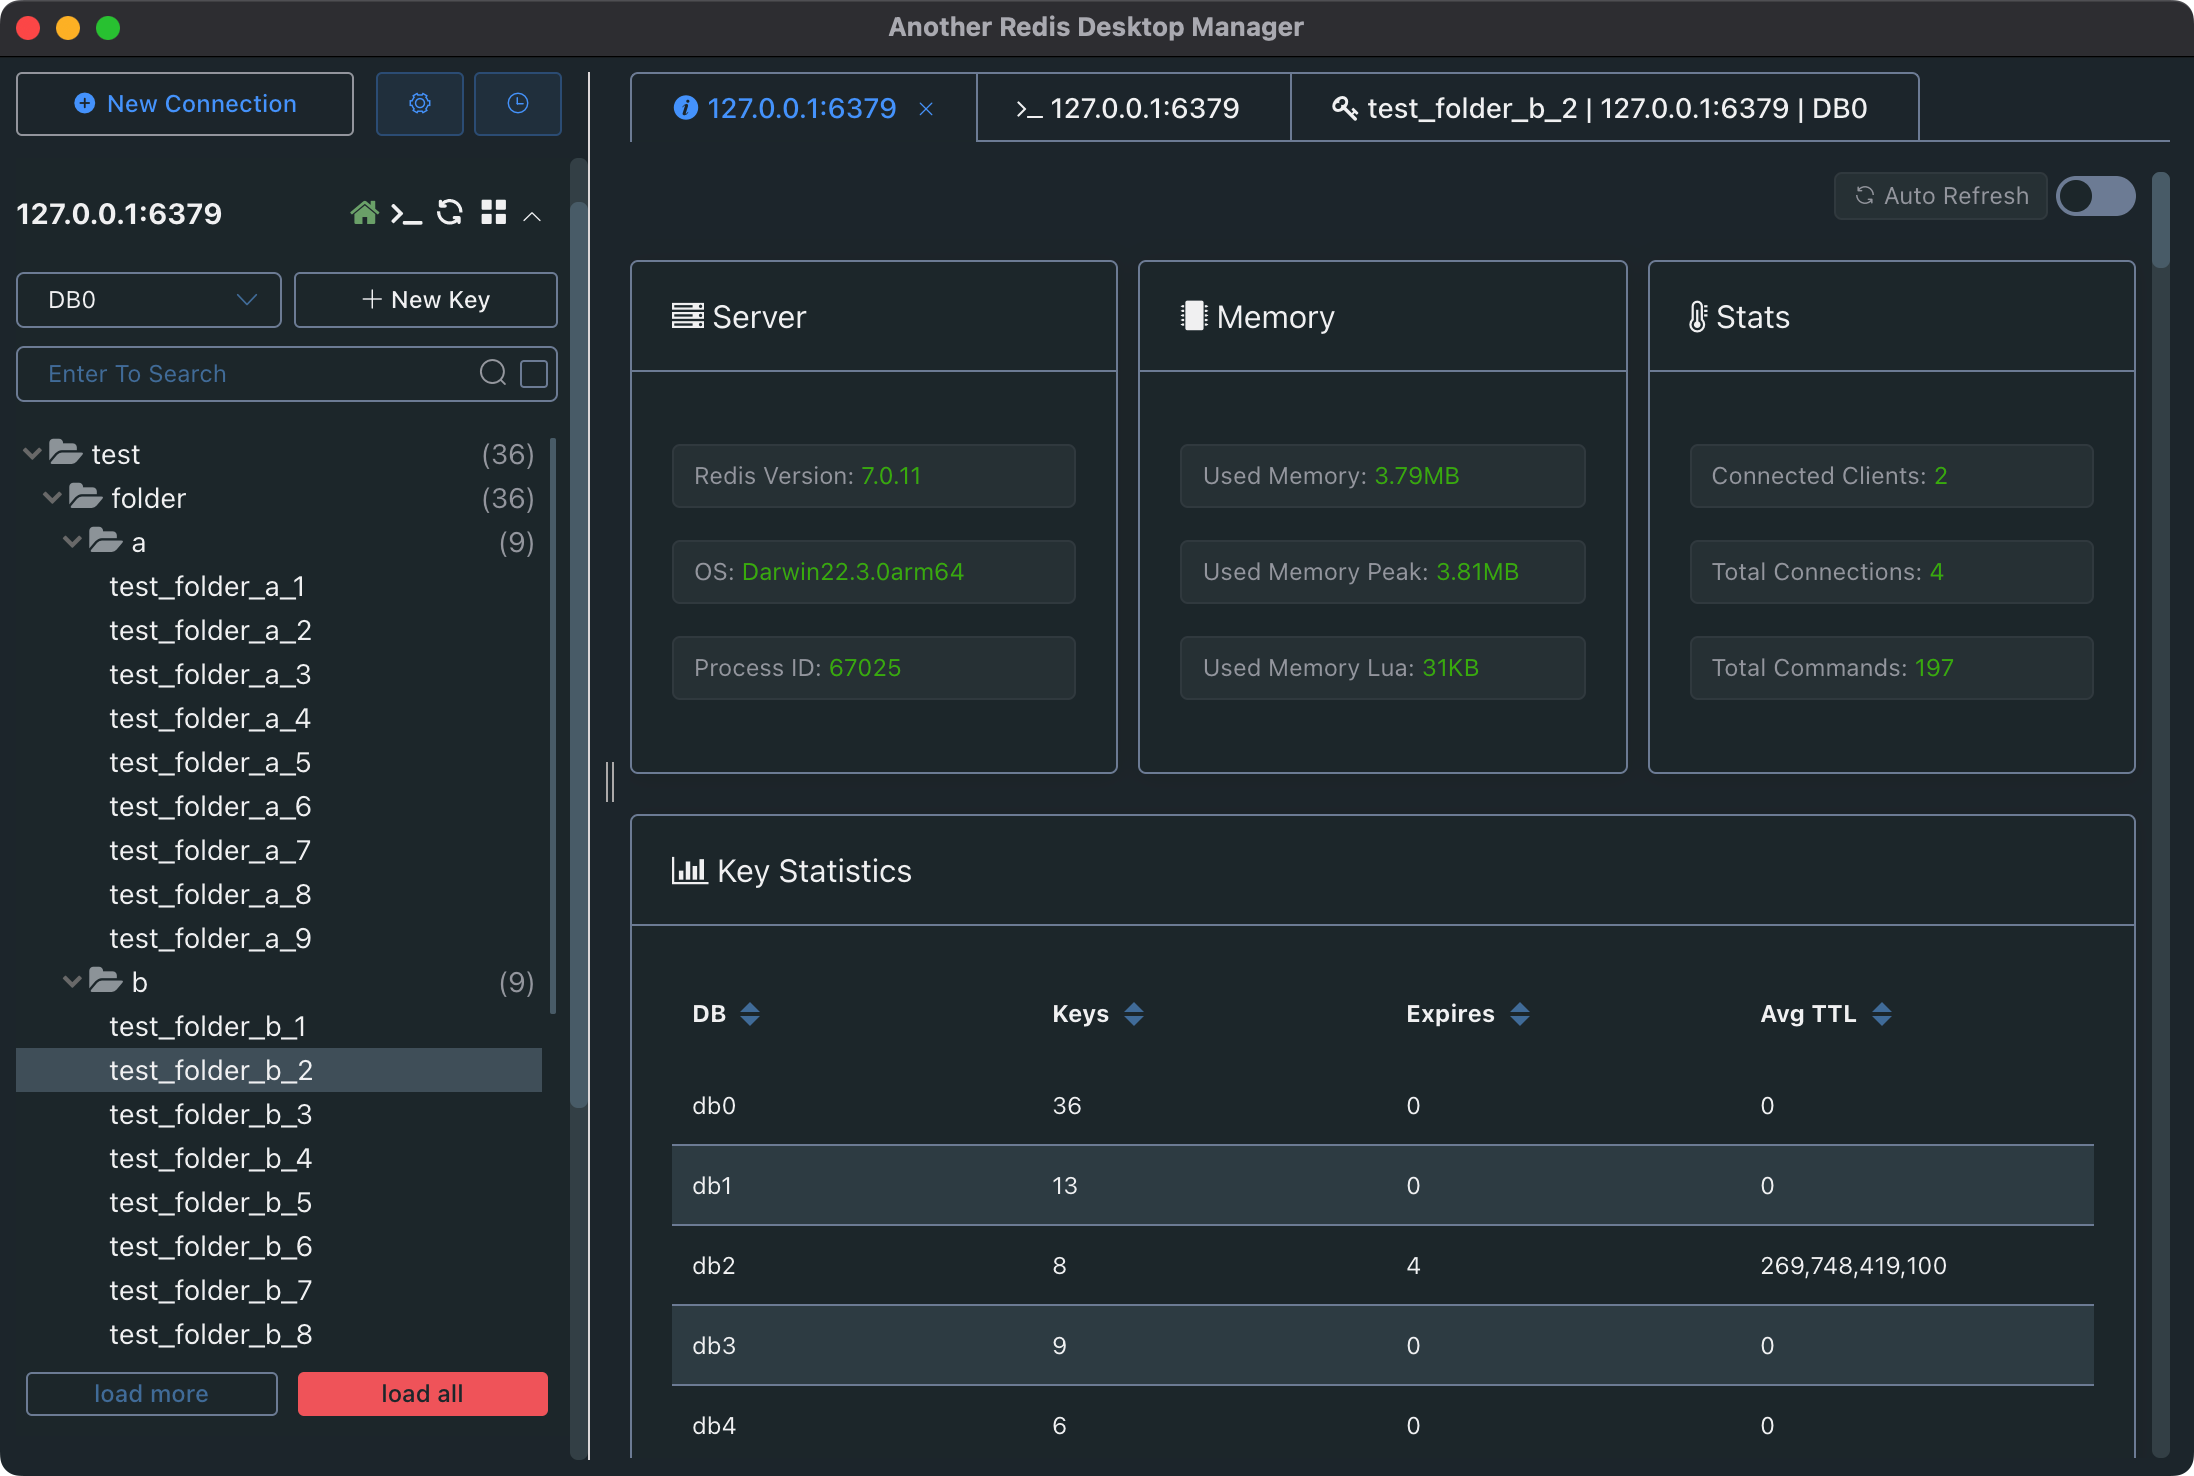
Another Redis Desktop Manager
更快、更好、更稳定的Redis桌面(GUI)管理客户端,兼容Windows、Mac、Linux,性能出众,轻松加载海量键值
下载 - Another Redis Desktop Manager
paru another-redis-desktop-manager-bin解决启动报错“FATAL:gpu_data_manager_impl_private.cc(415)] GPU process isn't usable. Goodbye.”:开始菜单搜索Another Redis Desktop Manager,右键编辑应用程序,在 KDE 菜单编辑器对应软件的常规-命令行参数中追加 --no-sandbox,保存后打开软件。
Offset Explorer
Offset Explorer(前身为 Kafka Tool)是一款用于管理和使用 Apache Kafka®集群的 GUI 应用程序。它提供了一个直观的用户界面,使用户能够快速查看 Kafka 集群中的对象以及集群主题中存储的消息。
# 安装
$ proxychains -q paru offsetexplorer
# 解决未缩放,追加配置
$ sudo nano /opt/offsetexplorer/offsetexplorer.vmoptions

-Dsun.java2d.uiScale=2.0
MobaXterm Pro 汉化版
MobaXterm 是您远程计算的终极工具箱 。MobaXterm 提供了所有重要的 远程网络工具 (SSH、X11、RDP、VNC、FTP、MOSH、...)。
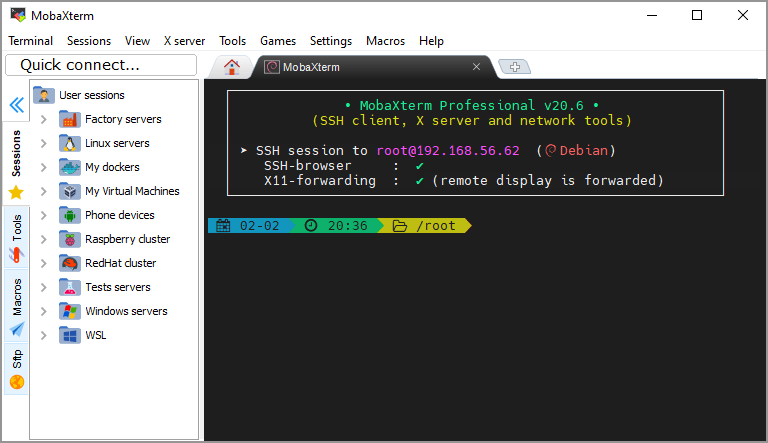
- MobaXterm Xserver with SSH, telnet, RDP, VNC and X11 - Download
- mobaxterm 25.4 汉化 - Bing Search
- wzsx150/MobaXterm_CN: MobaXterm 综合远程工具 汉化版
- Mobaxterm Icon | Dashboard Icons
export WINEPREFIX=~/.wine-mobaxterm
# 初始化容器
winecfg
# 安装中文字体
proxychains -q winetricks cjkfonts
# 网络上搜索并下载 MobaXterm
mv MobaXterm /home/duanluan/.wine-mobaxterm/drive_c/Program\ Files
# 启动测试
wine /home/duanluan/.wine-mobaxterm/drive_c/Program\ Files/MobaXterm/MobaXterm.exe

# 下载图标
wget -O "/home/duanluan/.wine-mobaxterm/drive_c/Program Files/MobaXterm/mobaxterm.png" "https://cdn.jsdelivr.net/gh/homarr-labs/dashboard-icons/png/mobaxterm.png"
# 创建快捷方式
$ nano /home/duanluan/.local/share/applications/mobaxterm.desktop

# 创建快捷方式
[Desktop Entry]
Categories=Network;TerminalEmulator;
Comment=
Exec=env WINEPREFIX=/home/duanluan/.wine-mobaxterm wine '/home/duanluan/.wine-mobaxterm/drive_c/Program Files/MobaXterm/MobaXterm.exe'
Icon=/home/duanluan/.wine-mobaxterm/drive_c/Program Files/MobaXterm/mobaxterm.png
Name=MobaXterm
NoDisplay=false
Path=
PrefersNonDefaultGPU=false
StartupNotify=true
StartupWMClass=MobaXterm.exe
Terminal=false
TerminalOptions=
Type=Application
X-KDE-SubstituteUID=false
X-KDE-Username=
新增 Mosh 会话时,会提示 WINE 尚不支持 Mosh 功能。
WindTerm
一个更快更好的 DevOps SSH/Telnet/Serial/Shell/Sftp 客户端。

Releases · kingToolbox/WindTerm
paru windterm-bin解决文件管理器打开文件报错无法创建临时文件:
sudo mkdir -p /usr/lib/windterm/temp
sudo chmod 1777 /usr/lib/windterm/temp
WoTerm
集成所有主流远程通信协议,满足您的多样化需求:支持 SSH1/SSH2、FTP/FTPS、SFTP、TELNET、RLOGIN、RDP、VNC、SHELL、串口、TCP、UDP 等协议——无需在不同工具间切换。通过统一平台轻松应对各类远程访问与通信场景。
paru woterm-bin